
Your phone (web app and push)
The hub (v0.2.9, #231) works on a phone: an installable web app with a layout made for it, and Web Push notifications when an agent needs you. It is free and runs entirely on your machine. Your phone talks to your hub directly, so it has to reach it: on your LAN, over Tailscale, or through your own tunnel. The paid Itervox relay removes the tunnel: with it, your phone reaches your hub from anywhere with no network setup. Nothing on this page needs it.
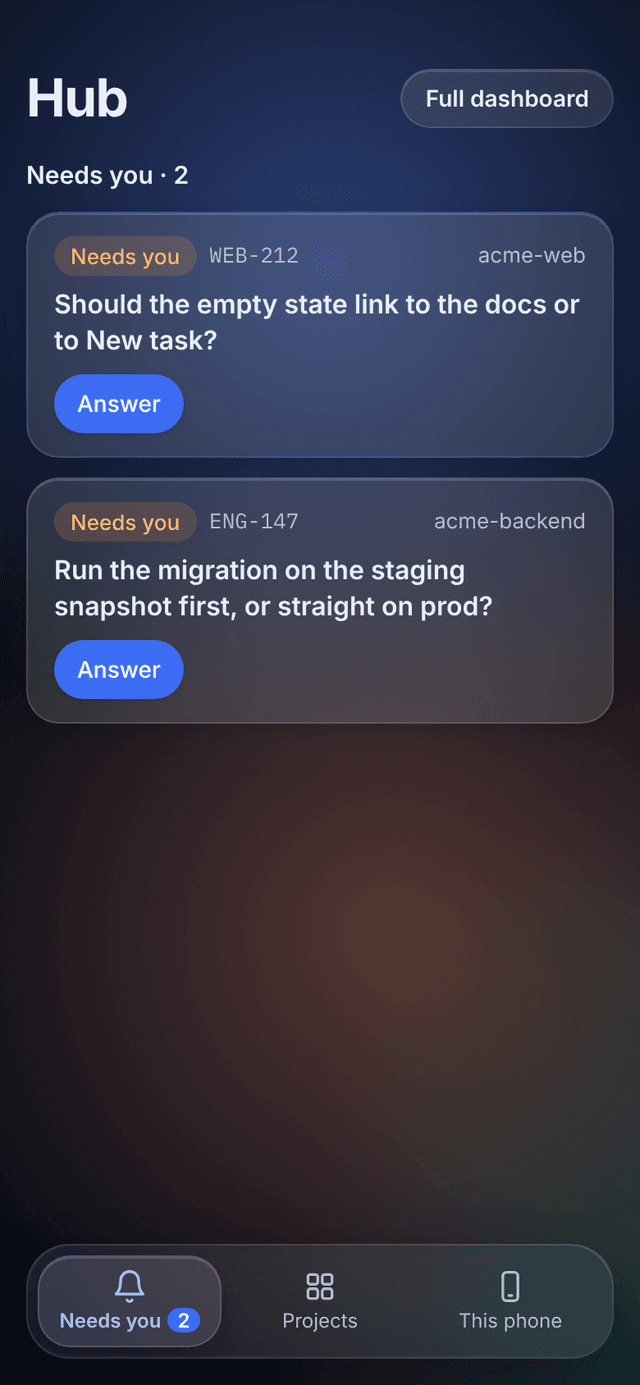
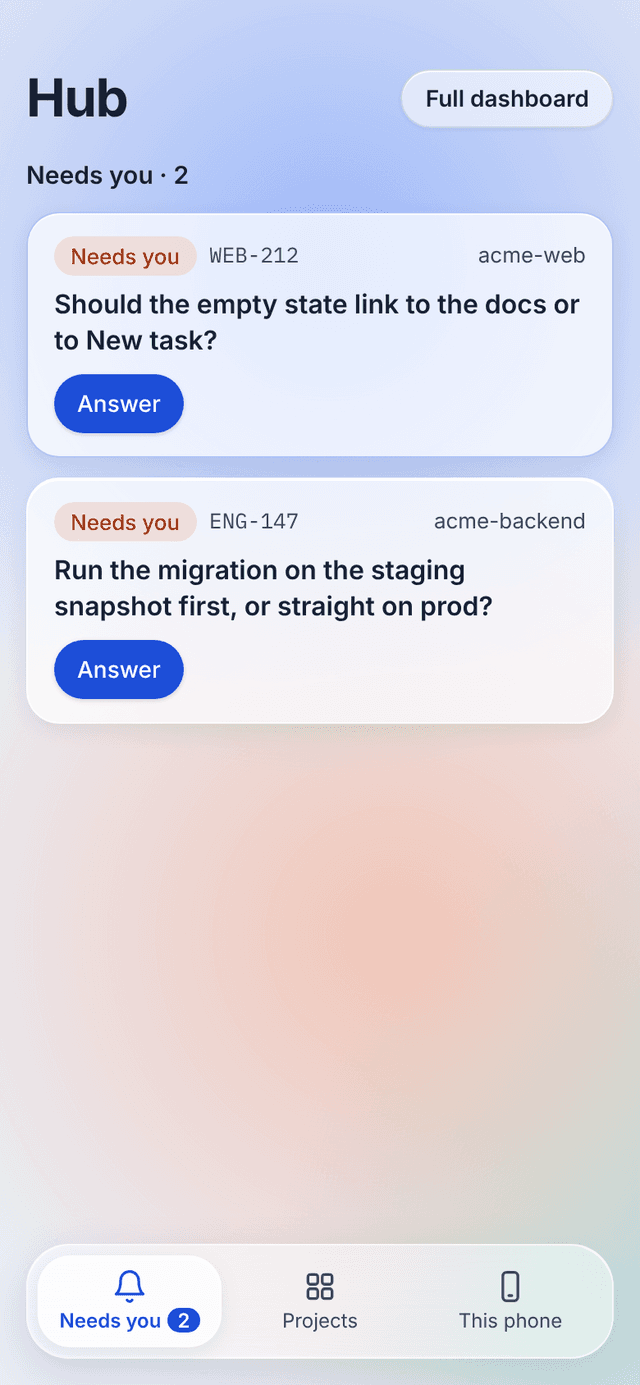
What the phone shows
Section titled “What the phone shows”- Needs you (
/hub/m, the app’s start page): every project’s agents waiting for an answer — questions and guardrail approvals — and recent failed runs, oldest first. - Projects: every project on the hub with its health and counts.
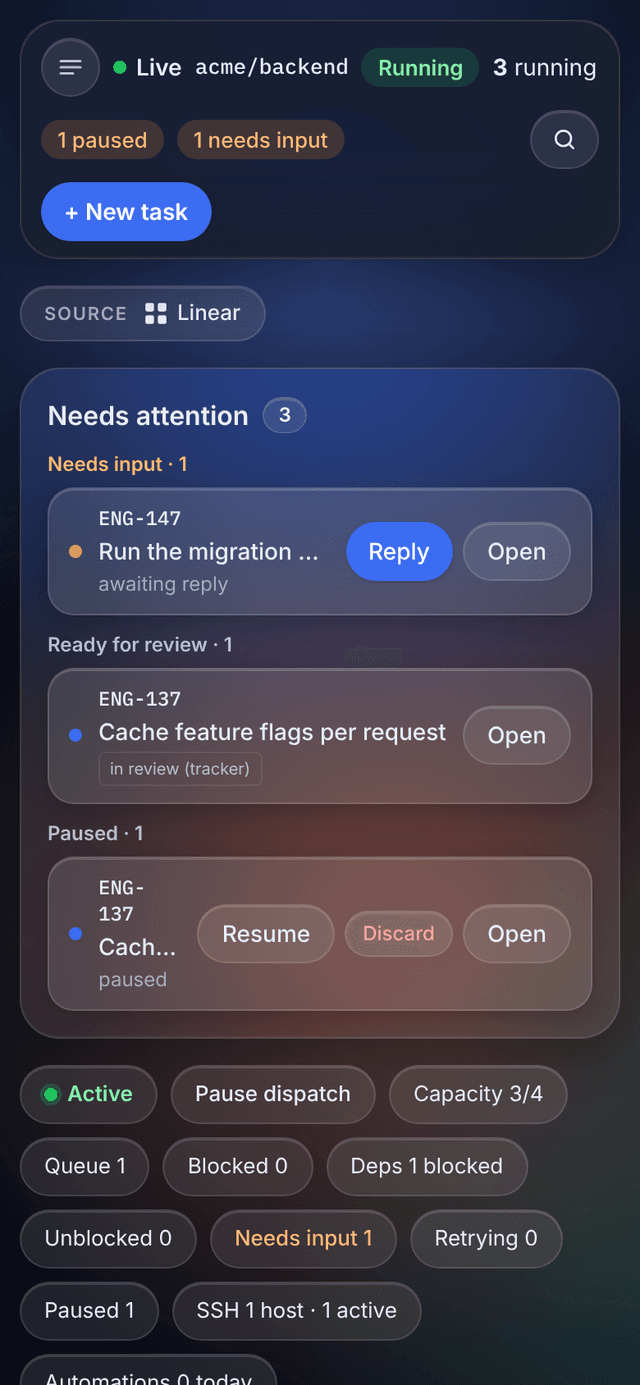
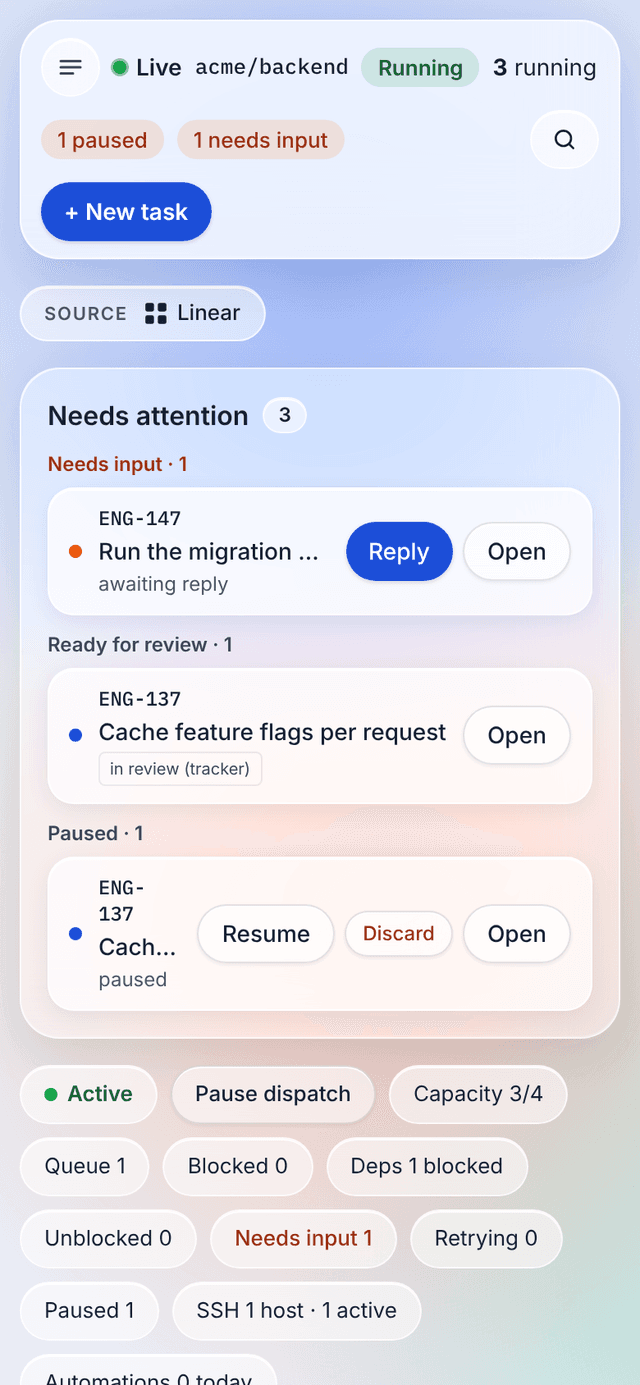
- An issue (
/hub/p/{project}/m/{issue}): what the run is doing now, the question with a reply box, or Approve and Reject for a guardrail approval, the steering chips and a message box for a running agent, and Pause dispatch / Resume dispatch for the project. These are the dashboard’s own controls over the project’s API through the hub, with your phone’s token’s scope. - This phone: turn notifications on, and see or remove every device the hub pushes to.
The full dashboard is one tap away on every page.
1. Let the phone reach the hub
Section titled “1. Let the phone reach the hub”The hub listens on 127.0.0.1:8089 by default. Pick one of these. Push
notifications and installing the app need https (browsers allow service
workers only on https or localhost), so the Tailscale and tunnel routes are
the ones that give you everything.
Tailscale (recommended)
Section titled “Tailscale (recommended)”With Tailscale on the Mac and the phone, publish the hub on your tailnet with a real certificate:
tailscale serve --bg 8089The hub is now at https://<machine>.<tailnet>.ts.net/hub/ on every device in
your tailnet and nowhere else. The hub keeps listening on loopback; nothing
else changes. (Binding the hub to the machine’s Tailscale address,
"hub": {"bind": "100.x.y.z"}, also works, but over plain http: no push and
no install.)
Your own tunnel
Section titled “Your own tunnel”Any tunnel or reverse proxy that serves https and forwards to
127.0.0.1:8089 works, for example
Cloudflare Tunnel:
cloudflared tunnel --url http://127.0.0.1:8089Every hub route except the health probe and the static files needs a hub token, and the pairing exchange needs a one-time code, so a public URL exposes nothing without them. Put access control in front of it too (Cloudflare Access, an IP allow-list) if you can; see Remote access for the trade-offs.
"hub": {"bind": "0.0.0.0"} in ~/.itervox/settings.jsonc listens on every
interface (restart the daemons); the phone opens
http://<your-mac's-LAN-address>:8089/hub/m. Use it only on a network you
trust. Over plain http the phone layout, replies, approvals, steering and
pause all work, but the browser will not install the app or take push
notifications. For those, put an https reverse proxy with a certificate the
phone trusts in front of the hub, or use Tailscale.
2. Pair the phone
Section titled “2. Pair the phone”On the computer, open the hub dashboard (/hub/) with an admin hub token
and choose Phones:
- Set Hub address on the phone to the address from step 1 (for
example
https://my-mac.tailnet.ts.net). It defaults to the address the page is open at, which is wrong if that is127.0.0.1. - Choose Show pairing QR code and scan it with the phone’s camera.
- On the phone, name the device and tap Pair.
The phone exchanges the one-time code for its own operator token, kept on
the phone, and opens the app. A code works once and expires after 10
minutes; it travels in the link’s #fragment, so no server or proxy logs
it. Wrong codes are throttled. Paired devices on the same page lists every
paired phone; Revoke stops its token at once and removes its push
notifications. itervox token list --hub shows device tokens as
device: <name>, and itervox token revoke --hub <id> works too.
No QR scanner? Copy the link under the code into the phone, or create an
operator hub token by hand (itervox token create --hub --name phone --scope operator --expires 30d) and paste it on the phone’s sign-in screen.
3. Install the app
Section titled “3. Install the app”- iPhone (iOS 16.4 or later): open the hub in Safari, tap Share → Add to Home Screen, then open Itervox from the Home Screen. Push works only from the installed app.
- Android: Chrome offers Install app (or Add to Home screen) in its menu.
4. Turn on notifications
Section titled “4. Turn on notifications”In the app, open This phone, keep or change the device name and tap Notify this device, then allow notifications. The hub sends Web Push through your browser’s push service (Apple, Google, Mozilla or Microsoft):
- What a push carries: the kind, the project, the issue, a short redacted title (“ENG-12 needs input”) and a link into the app. Never agent output, a question’s text or a command. Tapping it opens the issue’s page.
- Encrypted end to end (RFC 8291): the push service sees only ciphertext.
The hub signs its requests with a key it generated on first use,
~/.itervox/hub/push_vapid.pem(0600, never leaves the machine). - What is sent, and when, is the hub’s notification
settings: the
pushchannel in the matrix, per project and kind, with snooze and digests. Questions and guardrail approvals arrive at once; the other kinds you turn on come as digests. - Devices are kept in
~/.itervox/hub/push_subscriptions.json(0600). A device whose subscription the push service drops, or whose token is revoked, is removed. Send test for the push channel in the hub’s notification settings checks the whole path.
A dashboard hosted elsewhere
Section titled “A dashboard hosted elsewhere”The same dashboard bundle can be served from another origin (a static host, for example) and talk to your hub:
-
Build it with
VITE_API_ORIGIN=https://my-mac.tailnet.ts.net pnpm buildinweb/, or set it at runtime in the servedindex.html:<meta name="itervox-api-origin" content="https://my-mac.tailnet.ts.net">. Every API call then goes to that origin; the page’s paths stay the same (/hub/,/hub/m,/hub/p/{project}/...), so route them all toindex.html. -
List the page’s origin in
server.allowed_originsof the daemon that serves the hub (usually in~/.itervox/settings.jsonc) and restart it:{ "server": { "allowed_origins": ["https://dash.example.com"] } }Without it (the default) the hub and every daemon answer same-origin pages only: no CORS header is sent and every cross-origin preflight is refused. See Configuration.
Reference
Section titled “Reference”- Routes:
/hub/api/v1/push/...,/hub/api/v1/pairing,/hub/api/v1/devices server.allowed_origins: Configuration- Hub tokens and notification settings: The hub